Why Proper Seed Storage Matters
Saving seeds from your garden is a rewarding, cost-effective practice that lets you preserve favorite varieties year after year. However, the success of next season’s garden depends heavily on how well you store those seeds. Seeds are living organisms in a dormant state, and improper storage accelerates their decline, reducing germination rates and overall vigor. By understanding the science behind seed viability and applying proven storage techniques, you can keep your seeds healthy for years—sometimes even decades.
Understanding the Three Enemies of Seed Viability
Three primary factors degrade stored seeds: moisture, heat, and light. Each one shortens the lifespan of your seeds in different ways, and controlling them is the cornerstone of successful seed storage.
- Moisture is the most damaging factor. Excess humidity encourages mold growth, premature germination, and rot. Even small amounts of moisture can trigger metabolic activity that depletes a seed’s energy reserves.
- Heat speeds up the aging process. Warm temperatures cause seeds to “wake up” and burn through stored nutrients faster.
- Light can stimulate biological activity and degrade the delicate compounds inside seeds.
A helpful rule from seed-saving experts: the sum of the temperature (°F) and relative humidity (%) should ideally stay below 100 for long-term storage.
Step 1: Thoroughly Dry Your Seeds Before Storage
Drying is the single most critical step in preparing seeds for storage. Seeds packed away with residual moisture will quickly mold or lose viability.
After harvesting, spread seeds in a single layer on a screen, paper plate, or coffee filter. Place them in a well-ventilated area out of direct sunlight for one to three weeks, depending on seed size and type. Larger seeds like beans and squash require more drying time than tiny lettuce or tomato seeds.
To test dryness, try bending or snapping a seed. Properly dried seeds will snap rather than bend, and they should feel hard and brittle. Avoid using ovens or microwaves, as excessive heat damages the seed embryo.
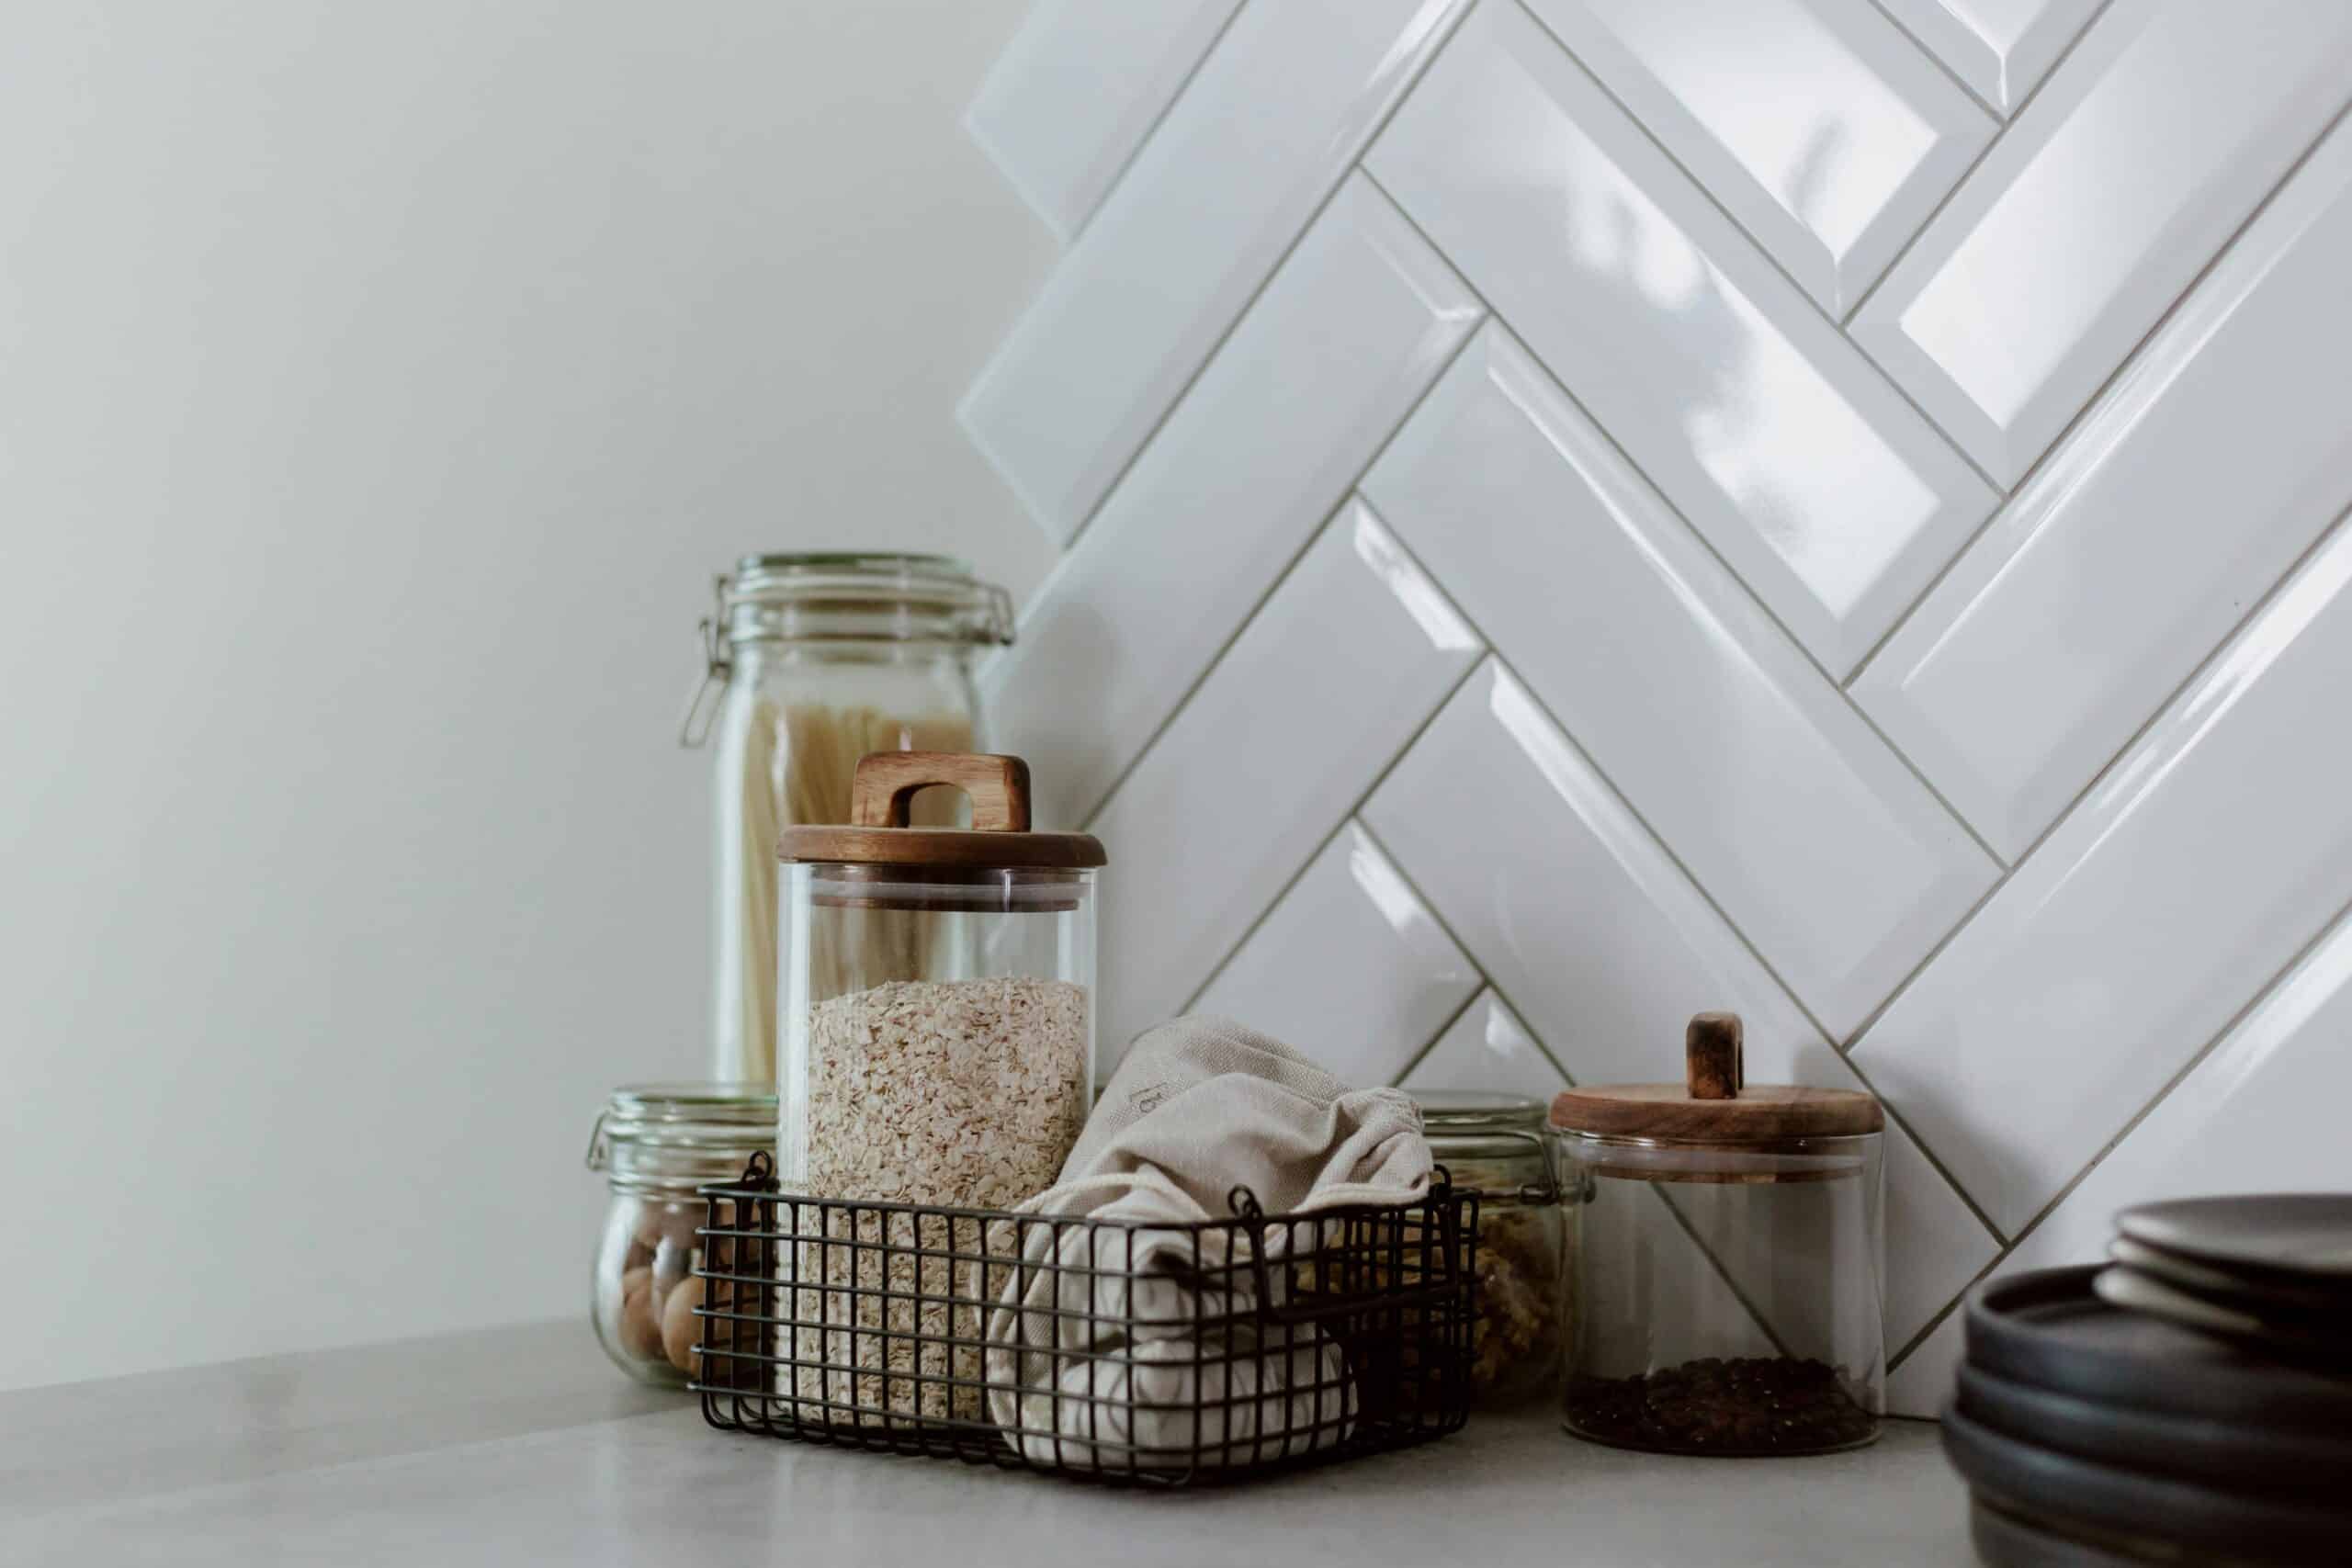
Step 2: Choose the Right Storage Containers
Once seeds are completely dry, selecting the proper container helps maintain that low-moisture environment. The best options include:
- Glass jars with tight-fitting lids — Mason jars are ideal because they create an airtight seal and protect against pests.
- Airtight plastic containers — A practical choice for larger seed collections.
- Paper envelopes — Useful for short-term organization, but they should be placed inside an airtight container for long-term storage since paper alone breathes.
- Mylar bags — Excellent for blocking light and moisture, especially for long-term preservation.
Always label each container with the seed variety and the date of harvest. This simple habit prevents confusion and helps you track viability over time.
Step 3: Control Humidity with Desiccants
Even after drying, ambient humidity can creep into your storage containers. Adding a desiccant absorbs lingering moisture and dramatically extends seed life.
Silica gel packets are the most popular option and can be reused after drying them out in a low oven. Alternatively, you can make a simple desiccant by wrapping a tablespoon of powdered milk in a tissue or using uncooked rice. Replace homemade desiccants periodically, as they lose effectiveness once saturated.
For best results, use roughly equal parts desiccant to seeds by volume in long-term storage jars.
Step 4: Store Seeds in a Cool, Dark Place
Temperature stability is key. Choose a location that stays consistently cool and dark, such as a basement, closet, or cabinet away from heat sources like ovens, radiators, or sunny windows.
For short-term storage (one season), a cool room around 50–60°F works well.
For long-term storage, refrigeration or freezing is ideal:
- Refrigerator storage keeps seeds at a steady 35–40°F, significantly extending viability.
- Freezer storage can preserve seeds for many years, even decades. However, freezing requires seeds to be extremely dry—any moisture will form ice crystals that rupture cell walls and kill the embryo.
When removing seeds from the refrigerator or freezer, let the container reach room temperature before opening. This prevents condensation from forming on the cold seeds.
How Long Do Stored Seeds Last?
Seed longevity varies by plant type. Under proper storage conditions, here are general guidelines:
- 1–2 years: Onions, leeks, parsnips, parsley, spinach
- 3–4 years: Beans, peas, carrots, peppers, chard
- 4–5 years: Tomatoes, beets, cabbage, cucumbers, lettuce, melons
- 5+ years: Squash, radishes, brassicas (well-stored)
These estimates assume cool, dry, dark conditions. Improper storage can cut these timelines in half or worse.
Testing Seed Viability Before Planting
Before investing time in planting, test older seeds to confirm they’re still viable. The germination test is simple and reliable:
- Place 10 seeds on a damp paper towel.
- Fold the towel and seal it in a plastic bag.
- Keep it in a warm spot (around 70°F).
- Check daily for sprouting over 7–10 days.
Count how many seeds germinate. If 8 out of 10 sprout, you have an 80% germination rate—excellent. If only 3 or 4 sprout, you can still use the seeds but should sow them more densely to compensate.
Common Seed Storage Mistakes to Avoid
Even experienced gardeners make errors that compromise their seed stash. Watch out for these pitfalls:
- Storing seeds before they’re fully dry, which leads to mold and rot.
- Using non-airtight containers that allow humidity fluctuations.
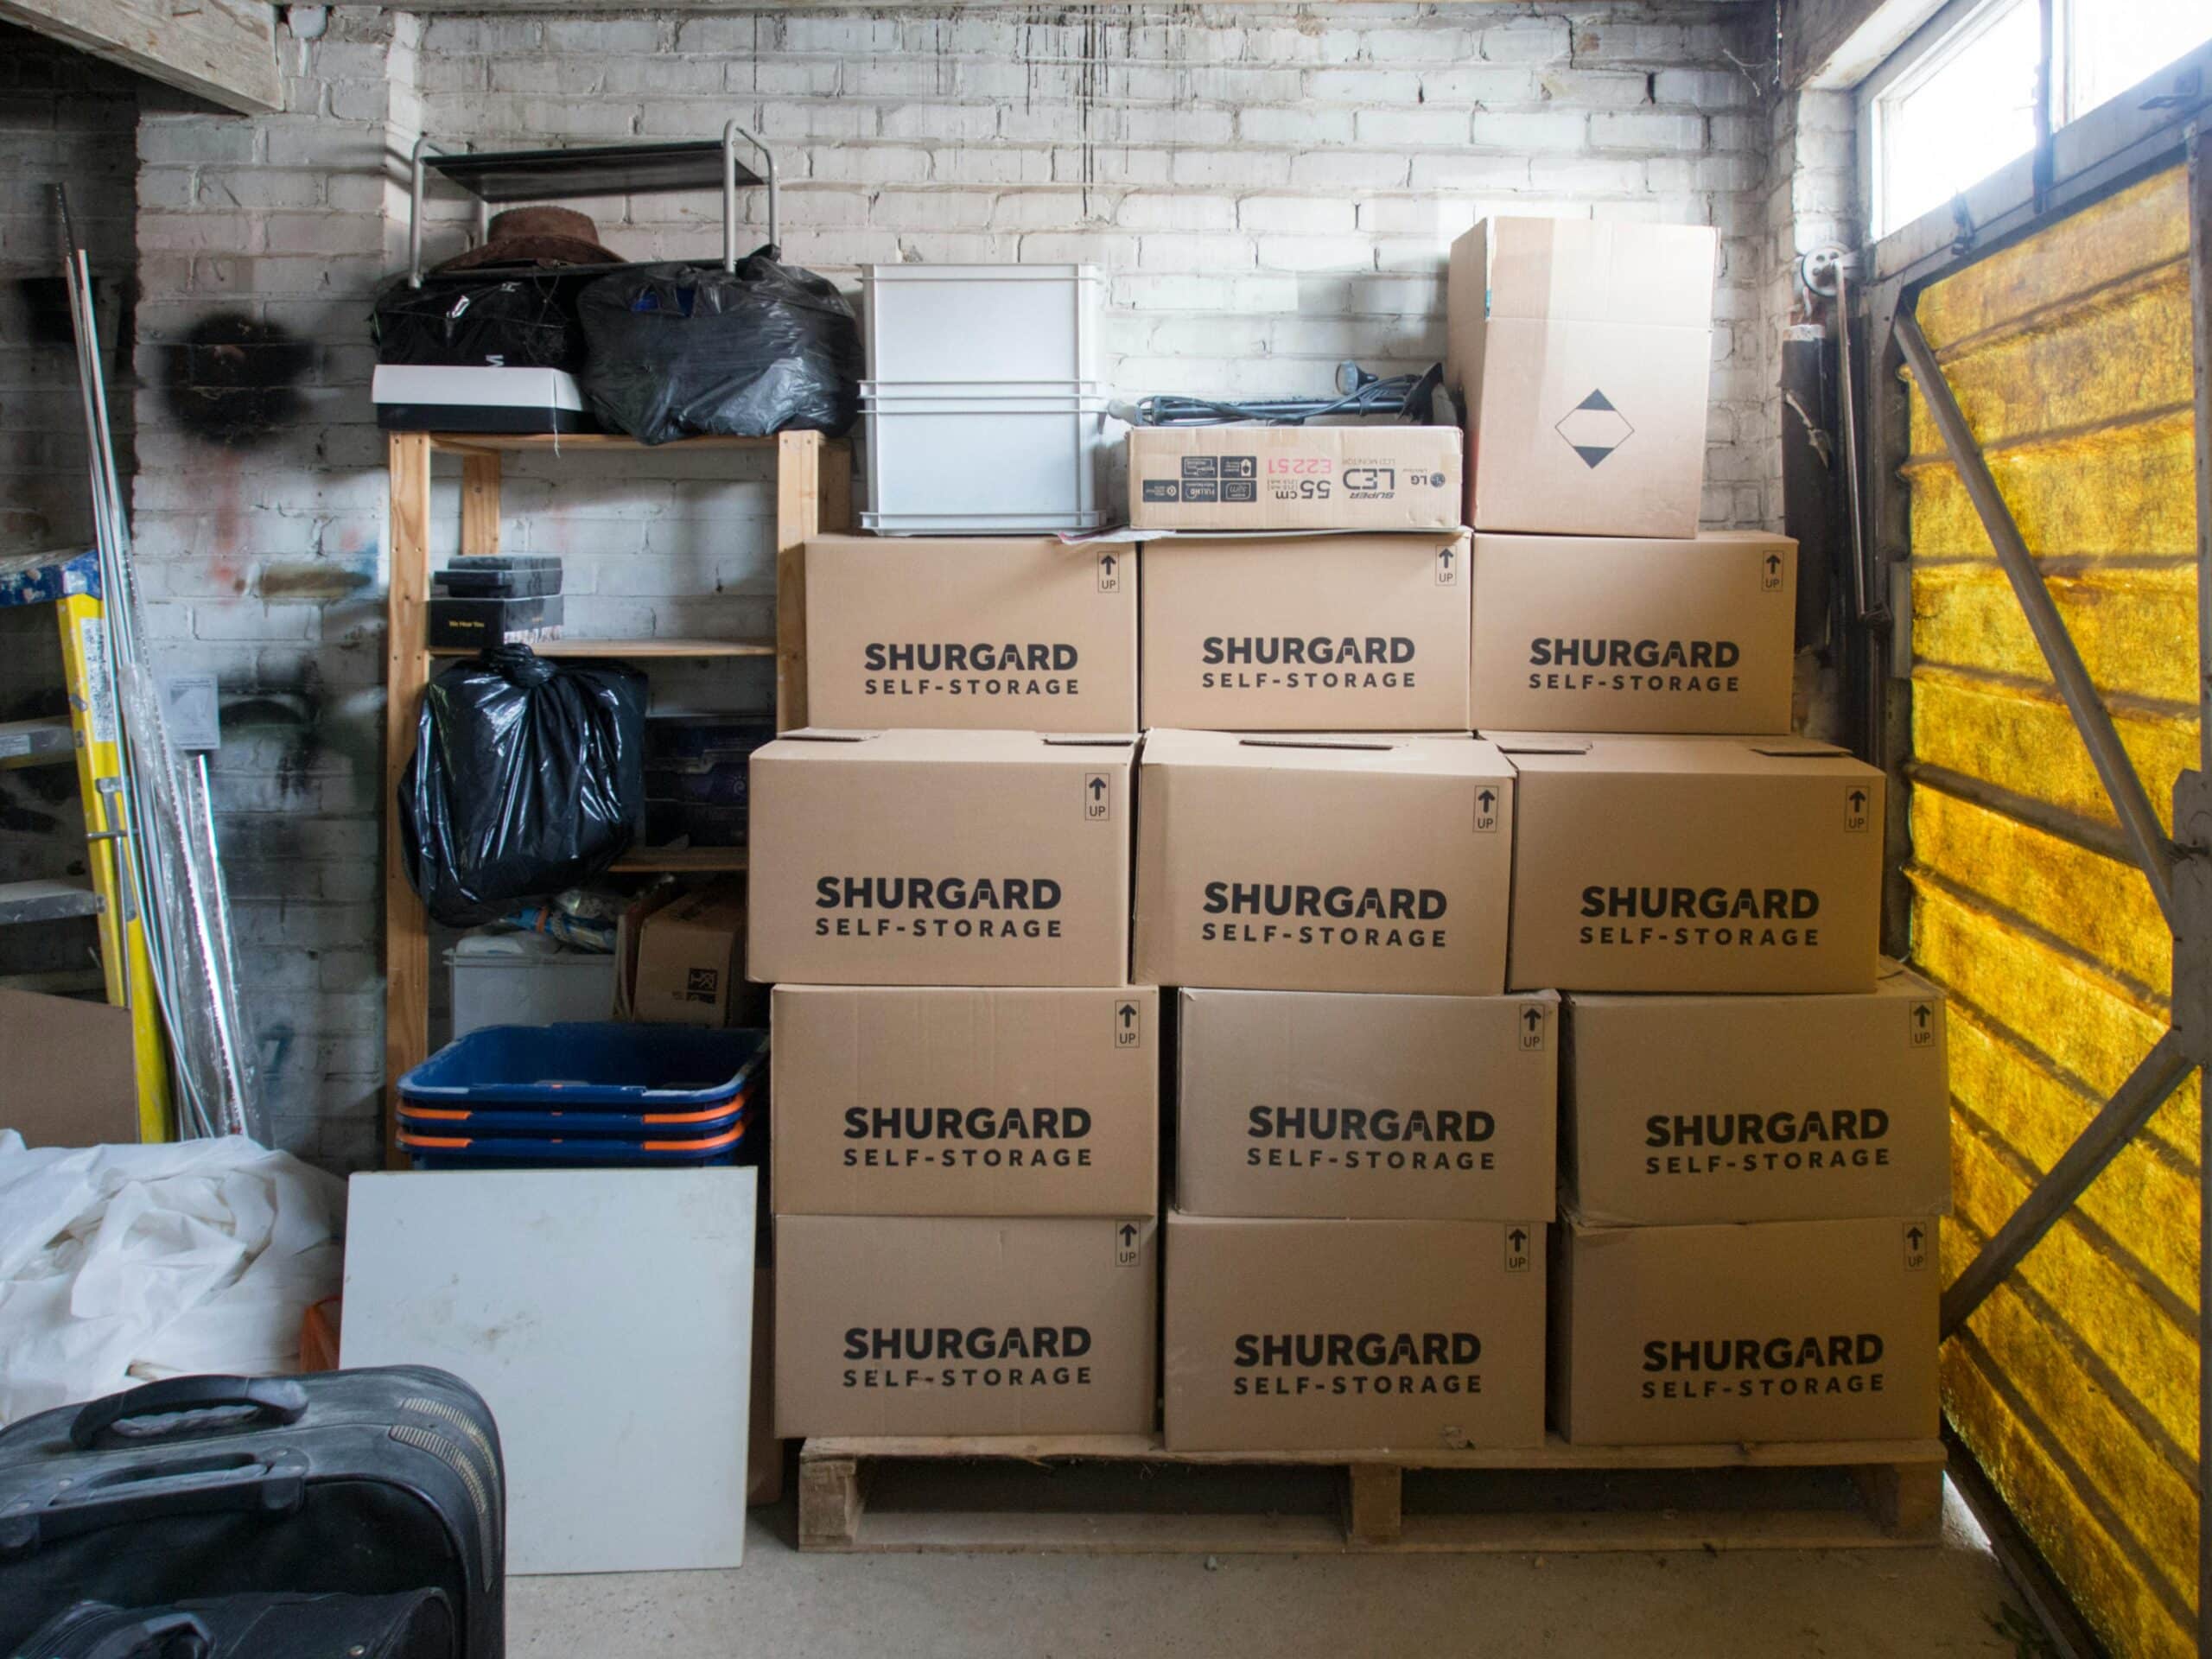
- Keeping seeds in warm or fluctuating temperatures, such as a garage or attic.
- Forgetting to label containers, resulting in mystery seeds.
- Exposing seeds to repeated temperature swings, which stresses the embryo.
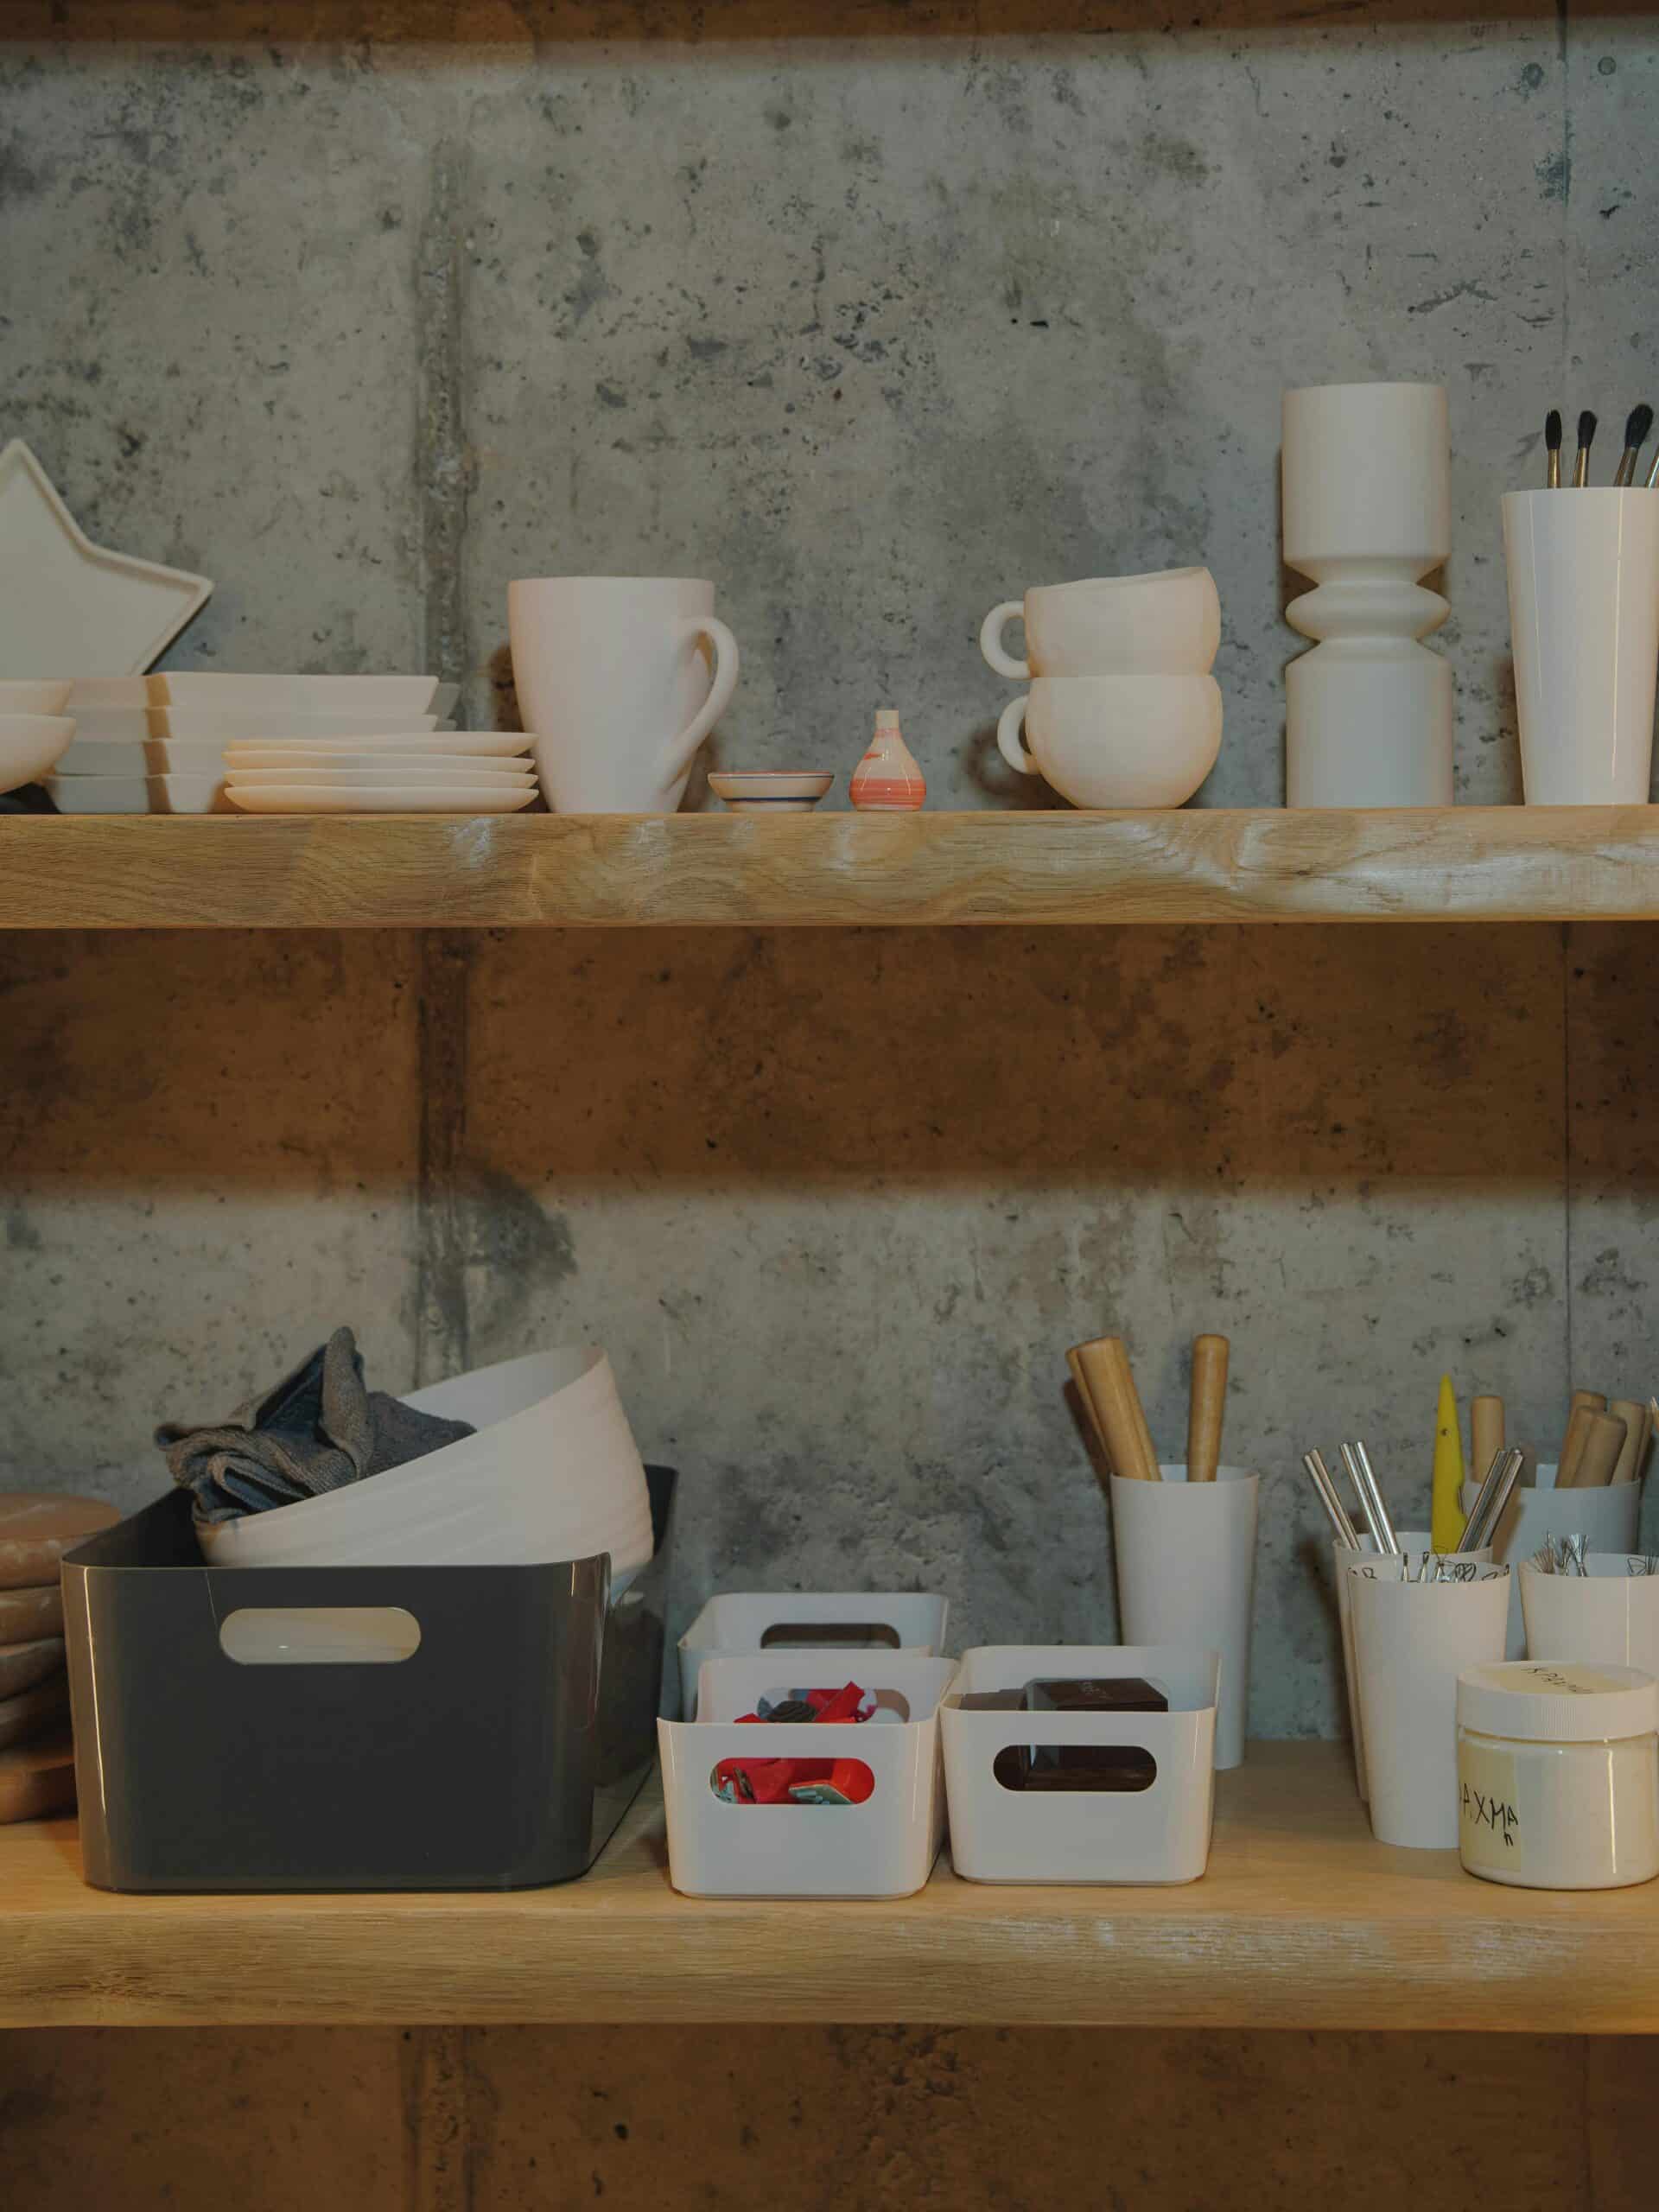
Organizing Your Seed Collection
A well-organized seed library makes gardening more efficient. Sort seeds by plant family, planting season, or alphabetical order. Use a small index card system or a digital spreadsheet to record varieties, harvest dates, and germination test results. Photo boxes, recipe card holders, and small drawer organizers work beautifully for keeping envelopes tidy and accessible.
Rotating your collection ensures you use older seeds first, minimizing waste and maintaining a fresh supply.
Final Tips for Maximizing Seed Longevity
To get the most from your saved seeds, maintain consistency in your storage environment and resist the urge to open containers frequently. Each time you expose seeds to air, you introduce moisture and temperature changes. Keep your storage location dedicated and undisturbed.
By drying thoroughly, sealing properly, controlling humidity, and storing in cool, dark conditions, you’ll preserve your seeds’ vitality season after season—ensuring a thriving, productive garden built from your own carefully saved harvest.